• Wondering which camera, gear, computer, or software to buy? Ask in our Gear Guide.

Very Low Budget Lighting Method for Shooting at Night

Hey guys,

I'm shooting a very short film which is intended to be a sort of "introduction" to an upcoming larger film I'm writing. It'd be more of a test on lighting and other film-making methods, but I need some tips on lighting.

The scene is set in the night, so is it best to film in the day time, or at night with lighting? I have a Sony HDR-SR11 which I'll be using for the shoot. As for lighting, I have nothing but I should be able to rent/buy some. We're not shooting for a while as I need to plan this properly. I wouldn't want grainy underlit footage.

So what are the best methods? Soft-boxes? I don't have much experience at all with lighting.

Thanks in advance!

Jack
 
The scene is set in the night, so is it best to film in the day time, or at night with lighting?

Imo, best to shoot at night if you can. Shooting day-for-night is trickier than you'd imagine.

So what are the best methods? Soft-boxes?

You may (or may not) need softboxes. It all depends on how you want your lighting to look. Softboxes are one tool to help you light a certain way; not a method in itself.

For starters, you should look up (and practise) the basic 3-point lighting technique. That will cover a majority of your lighting needs, and you can generate dozens of different "looks" from that simply by changing & playing with various different light sources.

3-point lighting would be a great start. Everything else is just gravy. :)
 
Great idea on the short test. Dont sweat it if you never finish the short, the goal is to LEARN.

Zensteve nailed it, shoot shots at "night" if you can. Aint nothin bout filming thats easy, but some thing are more rewarding for the effort! A nicely exposed night shot is a joy to behold, and if you can figure this out, your well on your way to mastery of light!

Iv been waiting for an evening where its not RAINING to set up a night shot, just to see how to do it! So I dont have any real good advice. I don know that noise is your enemy at night. I mean video noise, read your manual and figure out how to TURN OFF any video gain. What often happens in low light is that the camra tries to compensate and keeps amplifying the video signal.. that means grainy noise\blue dots on your footage. This will by definition make it harder to get a good looking exposure, but thats ok, is is night time after all, so ADD MORE LIGHT! LOL
 
I just found a setting on my camera called "Twilight" which apparently turns video gain off, or limits it down at least. I just shot something in my room, with a tiny light on, and I didn't notice ANY grain. So I think this'll be the right setting for it.

We have some soft boxes at school, they do lend them out for photography projects so hopefully they will for this. We've scraped over the 3 point lighting system but I really do need to go over it in detail.

Thanks for the tips, I shall check it out. I was talking to my photography teacher today about it actually, and he was saying about using any available light source you can on a low budget. If you can't afford professional lighting kits, use little desk lamps especially for indoor shots etc. I think we'll be improvising, but it'll be a fun test.

I will post it here when we're done. I hope to film it within a couple of weeks. :)
 
using any available light source you can on a low budget. If you can't afford professional lighting kits, use little desk lamps especially for indoor shots etc. I think we'll be improvising, but it'll be a fun test.

Poke around for threads called "Home Depot Lighting" or "DIY Lighting" on the forums here - you'll probably find a lot of great ideas for fudging lighting setups.

Sounds like you'll have a good time getting creative, with limited tools.

Looking forward to seeing how it all comes out. :)
 
Day for Night

I agree that day for night is a lot trickier than it might seem at first but if you can get a hold of aftereffects there's quite a lot you can do. if you know programs like photoshop, then the learning curve isn't too bad. best to do tests first in a variety of different lighting conditions before you get your actors, etc. out for the actual shoot. it would suck if you shot great footage then got it into post and couldn't get the night look you're going for.
 
Sorry I'm jumping into this thread a little late, but the more information the better, right?

Lighting at night is interesting. Like all lighting, however, how you do it depends on the emotion or feeling you're hoping to convey. Lighting a night scene for a horror flick is going to be quite different than lighting a night scene in a romantic comedy. The feeling of each scene is quite different and, therefore, so should the lighting.

Example 1: Horror Scene:
Our victim is walking barefoot and beat up through a thick forest. She's not sure where she is but she keeps going, lighting her way with a flashlight. Each sound sends the light jerking in a new direction. She begins to cry softly as the flashlight begins to flicker.

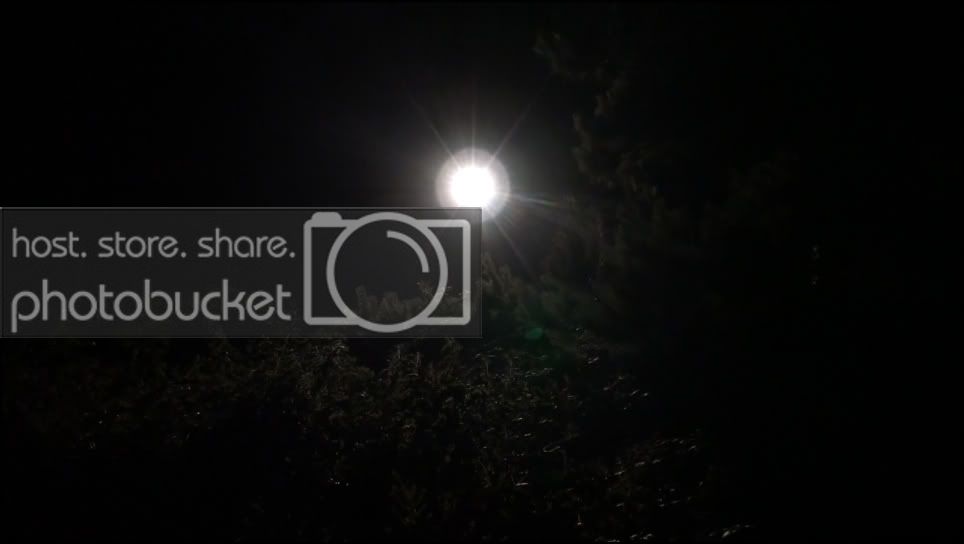
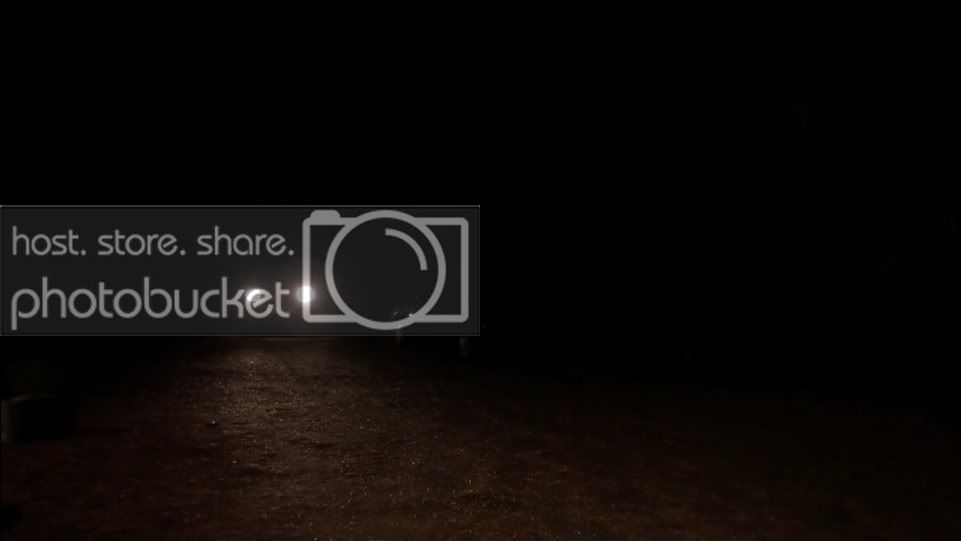
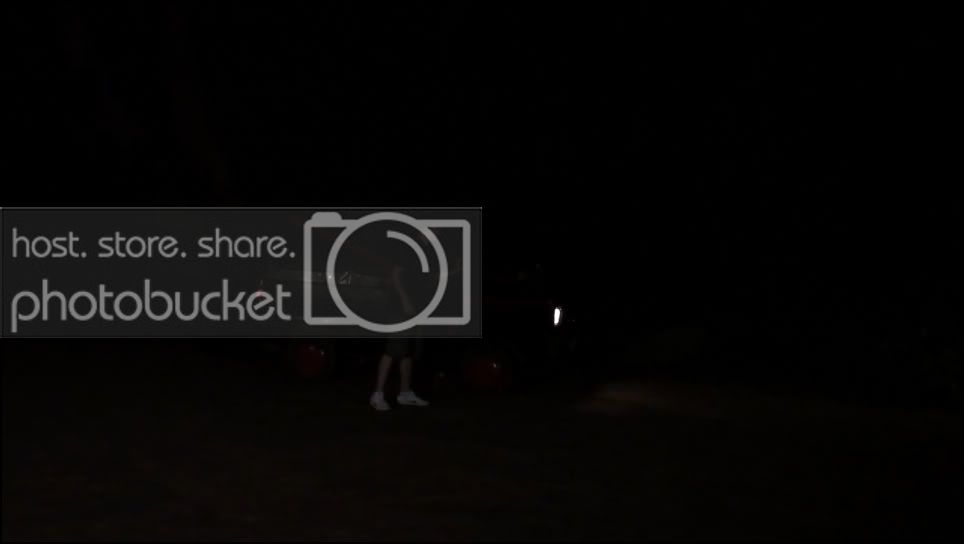
How would I light it? First I'd schedule the shoot on a night that is supposed to have a full moon and I'd set up the shot so that the moon was behind the talent. I just made the moon my backlight and if I'm lucky the night will be bright enough to subtly light the background of trees and brush. I'd then find the most powerful flashlight I could find that makes sense for the character to carry and I'd place a reflector (made out of white foam core if I didn't have a "real" one) right in front of the flashlight. This would bounce the light back at the talent making it a soft key. I'd keep the shot tight, the world small. When the flashlight finally dies (as they always do in a horror movie) the scene goes dark and the talent screams in terror as she meets a horrible death...

Example 2: Romantic Comedy:
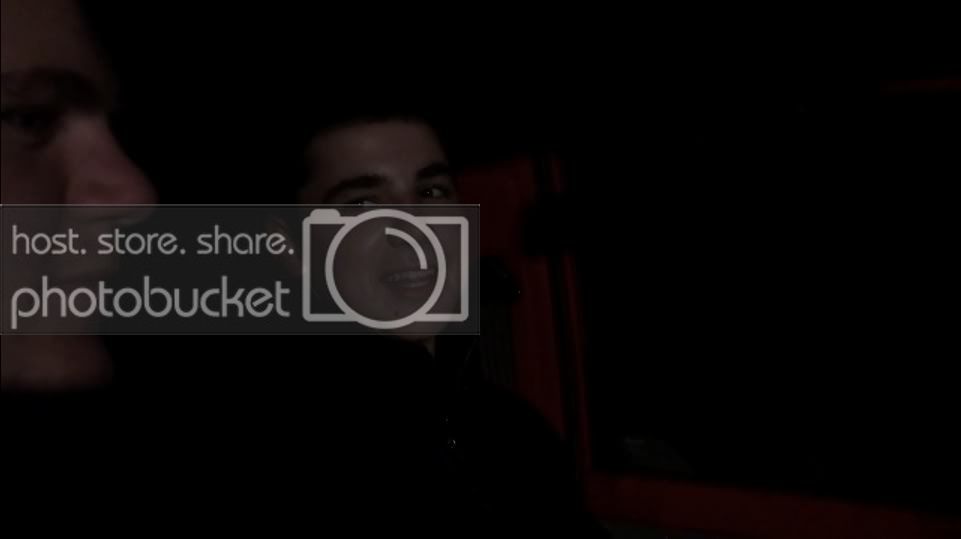
Four people are sitting around a fire pit on a beach roasting marshmallows. One couple gets up and leaves to go have a romp in the back of '83 Chevy Van. The remaining boy starts to spill his heart to the girl next to him that is totally out of his league. She's not paying attention because her marshmallow has caught fire. She starts to wave the stick around furiously. The marshmallow flies off and into the boy's eye.

How would I light this. Well, the moon trick still applies. It may not always work, but I always try. We also have a built in light source, the fire pit. I'd add key light from the fire's position with whatever I had; a 500 watt garage light would work great. Then I'd add a soft backlight with a little blue gel to simulate extra moonlight. TIP: ADD FIRE TO MARSHMALLOW IN POST!

My point here is to plan and be creative. You can light with anything; garage lights, headlights, CFLs (my favorite), street lights, flashlights... The bigger you make the world you're characters are in the bigger you'll have to light. If you have the money set aside to rent a couple of 10Ks, go for it. Steams of light coming though the tree branches from above or light reflected off the water would look awesome. If you don't, don't sweat it. Make the world smaller.

Hope you find this helpful.

www.wakethewitchmovie.com
www.bloodritesmovie.com
 
Cheapest? Shot during the day and use a blue filter on the lens or in your matte box. Might need to tweak during post but sometimes this can come out effective. I would do some tests first to see if you get the effect you want.
 
Oh wow I didn't see you guys had posted. Thanks for the tips, especially yours Chad. As for the others, I was going to film during the day but was just suggested otherwise.

Last week we did a lighting test at the location we're filming at. We had 3 lights, one high up behind some trees acting as the moon (which is an actual studio light) and then two garage worklights. They seemed to work well but I wanted your opinion. It's really hard to emphasise the moonlight being the main light source, but I think we did an ok job.

Also what's the gel you speak of? I've just read a few other threads and people keep mentioning gel. Do you mean for the light, like a filter?


zomlight1.jpg


zomlight2.jpg


zomlight3.jpg


zomlight4.jpg


And yes that is my A-Team van. :D

So, how is this? I feel as if it's too dark, and that I should go lighter and then darken it in post to my liking.
 
Oh wow I didn't see you guys had posted. Thanks for the tips, especially yours Chad. As for the others, I was going to film during the day but was just suggested otherwise.

Last week we did a lighting test at the location we're filming at. We had 3 lights, one high up behind some trees acting as the moon (which is an actual studio light) and then two garage worklights. They seemed to work well but I wanted your opinion. It's really hard to emphasise the moonlight being the main light source, but I think we did an ok job.

Also what's the gel you speak of? I've just read a few other threads and people keep mentioning gel. Do you mean for the light, like a filter?

Lighting gels are thin sheets of coloured transparent polycarbonate or polyester used to change the colour (and sometimes intensity) of a light. A paleish blue gel can be very useful for a moonlight effect.

I'll work my way through your images…

1. Can see exactly what you're going for, but it doesn't quite work - the lamp is much too bright to be the moon, which would never create lens flares. Some thick diffusion over the light to soften it may be enough to sell the shot.

2. Like it - I'd perhaps try and get a soft blue backlight on the car (coming from the left) to pick it out from the background slightly, but that's personal taste rather than a criticism.

3. Not so keen, can't see enough - backlight/sidelight would help to make the shapes more visible, and if the car headlights aren't bright enough to light up the ground I'd consider faking it.

4. Like it, though a bit more shadow on the far side of the guy's face would be nice. A bit of ambient light in the car could help get rid of the floating head feel, but overall I think it works quite well.

5. Love this one, definitely my favourite. Floating heads aren't such an issue here because the sidelight picks out the shape of his arm etc. - perhaps a bit of a backlight could help on the previous shot in this respect.

6. I think the only thing that gives this away as being 'lit' so to speak is the big shadow on the wall. (Though I've just realised it might be coming from the car headlights, in which case ignore me!)

7. Bottom right foreground is far too hot compared to the rest of the image - I'd flag that light off at the bottom, or maybe move the light round so it's lighting the actors from the side and wrapping round their faces slightly.

Overall, I think they look pretty good - it's a convincing night scene, if a bit dark in places.

I'll consider getting a some lighting gel things then, do you know a good place to get them from?

As for the moon, it wasn't actually going to be in shot, it was just to show where the "moonlight" is coming from. The real moon wasn't visable at the time, hopefully it is when we actually shoot. I'll try some more backlighting, the only thing is trying to hide the light.

It's actually quite an awkward location to light in order to fake the moon. We had so many cables running from a nearby building to wear we were, and then up over the castle wall to help light inside the castle (which was the hardest bit as you saw from the last image).

Thank you very much for your help, I'll take all this on board when we actually come to shoot. It's my first project with actual lighting and I'm worried I'm going to screw it up. Shadows are important in this kinda film, on someone's face etc.
 
What you might try, to get some fill light in the truck. Is use a chem light. You know the ones you snap and shake. If it's too bright you can tape up portions of it to give you less light. Might be hard to match color, IDK. Also, I haven't tried this but I plan to in an upcoming shoot. If you do it first, you can let me know how it worked. :)
 
What you might try, to get some fill light in the truck. Is use a chem light. You know the ones you snap and shake. If it's too bright you can tape up portions of it to give you less light. Might be hard to match color, IDK. Also, I haven't tried this but I plan to in an upcoming shoot. If you do it first, you can let me know how it worked. :)

Ah that's actually a good idea! I may just try that. :)

Also I just got a Canon 550D, so I imagine it's going to be picking up much more light. Anything I should look out for? Can't wait to shoot this thing. :)
 
For fill light in enclosed spaces, they make flourescent battery operated snake head flashlights that I've used to put in a car as a key, tap lights -- go to walmart or a home improvement store and look for whatever battery operated lights you can get there... I just bought a rechargeable LED camping lantern which would flood the car with light.

There are tons of alternatives that would allow you to not have to push the camera quite as hard, so you can be more sure to get a better picture rather than concentrating on making do with good enough. (a lesson learned the hard way for us as well).

Those pics are too dark, it's much easier and safer to darken in post than to try to lighten.

Yeah, I've got this mega bright battery powered LED light that would do the trick.

Now I have a 550D with a wide angle, I assume this'll let in more light. Along with cranking up the ISO. By the way, how safe is high for the ISO? Don't want grain :P
 
Yeah, I've got this mega bright battery powered LED light that would do the trick.

Now I have a 550D with a wide angle, I assume this'll let in more light. Along with cranking up the ISO. By the way, how safe is high for the ISO? Don't want grain :P

The smaller the f number, the more light the lens can let in. You're correct as a general rule of thumb, but wide angle lenses aren't always faster. (The fastest lens for the money is usually found around 50mm, and lenses tend to get slower and more expensive as you get longer or wider from there.)

From what I've seen, there's not really much difference between 100 and 400 ISO with regards to grain. I've only had to go to 800 ISO once I think, and although the grain was noticeable the image was still perfectly acceptable. There have been occasions when I could've shot at 100 ISO, but decided to go for 400 just so I could pull focus a little more easily.
 
Thanks for the help. We're shooting this Sunday. I'm a little worried about how the footage is going to turn out. I've been shooting some stuff on the 550D just to test it in different conditions and getting myself more familiar with it. I just don't want noise, but I don't want it to be too dark. But we have a good number of lights so hopefully we'll be all right.

Any last minute tips for shooting at night, on a 550D with a Rode Videomic? I've heard there's some minor issues between the Rode and the 550D... annoyingly.
 
Ah that's actually a good idea! I may just try that. :)

Also I just got a Canon 550D, so I imagine it's going to be picking up much more light. Anything I should look out for? Can't wait to shoot this thing. :)

Good little cam.. I getting mine in a day or two as soon as it comes from Adorama, I suggest you get you a 50mm 1.8 prime lens or better a 1.4. There are plenty used ones around, you can get the 1.8 for $100 new. Search on Youtube for videos shot at night w/ those lenses.. Amazing quality.
 
Last edited:
Back
Top