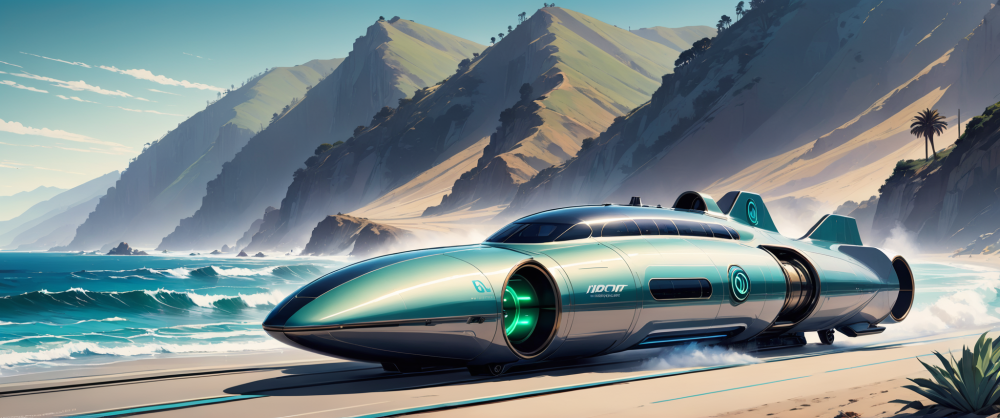
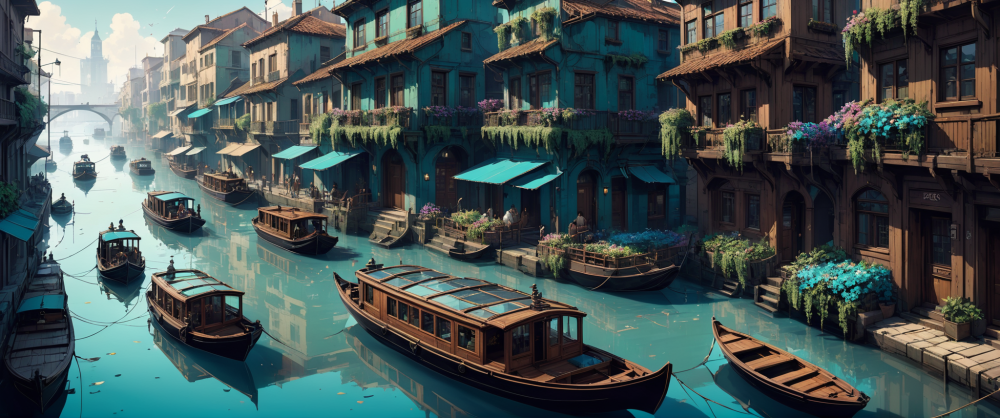
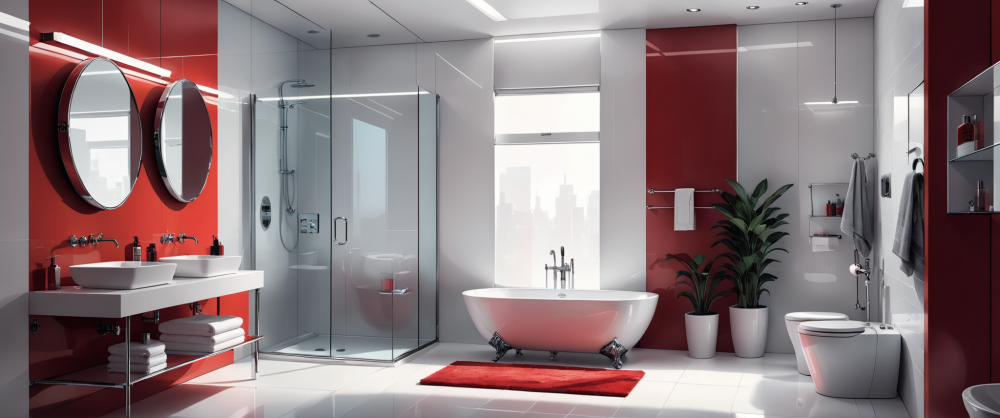
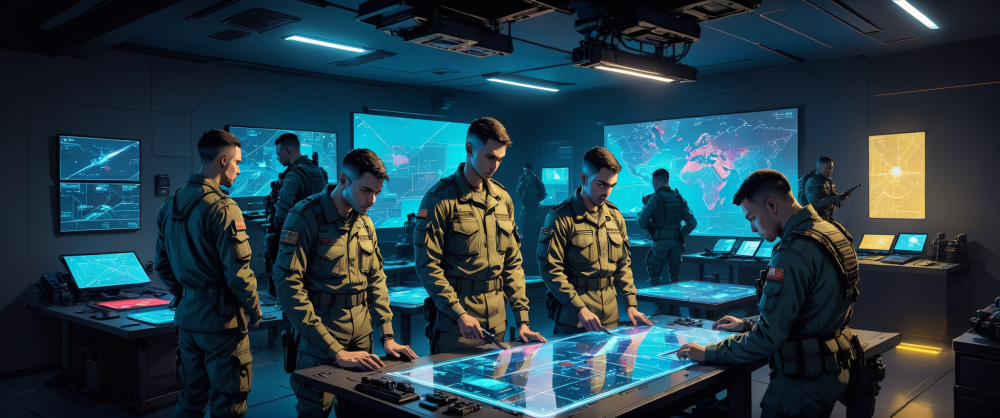
cgi Save Point Art Gallery

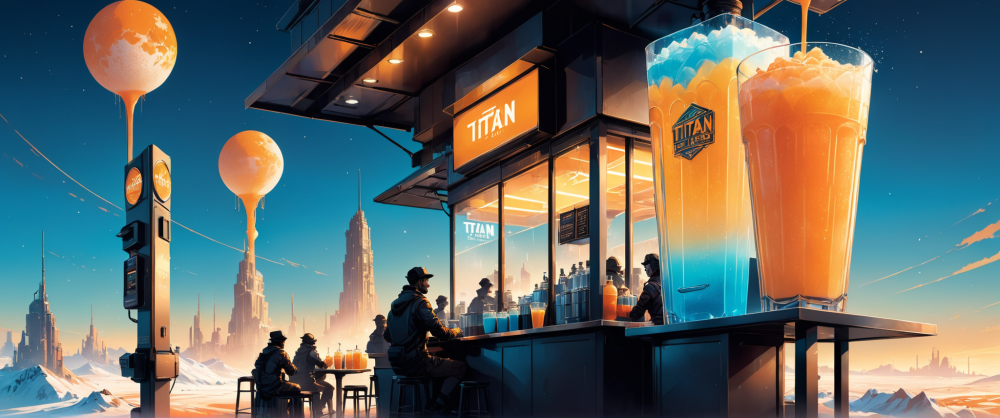
Over the last month, various innovations and breakthroughs in the Save Point Viz pipeline have rendered me unable to post even a fraction of a percent of the high quality art we're producing. Long story short, I sat and lectured Chat GPT 4 in cinematic design and color theory for days on end, built a code bridge so that GPT4 could pass along instructions to the pipeline robot that doesn't have enough memory to learn several semesters of of composition training. So the more advanced robot just feeds the less advanced robot short and concise instructions created using the much broader knowledge base, indefinitely. Then I built out a cascading wildcard system that can be used to endlessly diversify the creativity of a session, while recording each genetic revealed.

Long story short, midstage (HQ image gen) output is now much higher quality and yield, and this has resulted in an avalanche of art so extreme that this site's technical limits would keep me from posting even a fraction of a percent of the best work. I moved the Save Point Gallery over to Artstation, and it's updated regularly, so the fan of the project can simply check in here and see new materials.

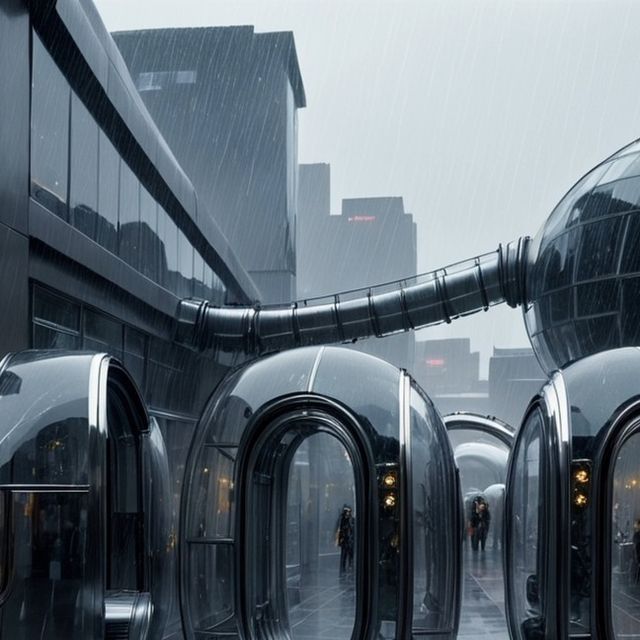
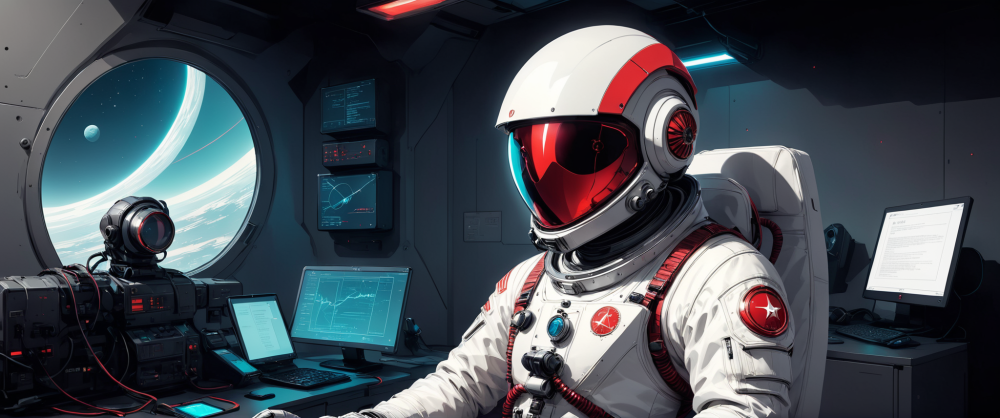
I didn't really use any legacy work when building the new page, maybe 1%, so it's all new stuff if anyone wants to check it out. About 400 Amazing artworks from this week alone, curated from an output of a little over 9000 paintings created over the last 7 days. I've added a few below as a sample for visitors deciding whether or not to bother following the link. Much of the art is work from Save Point, but the gallery now also features exhibits that are just interesting art for it's own sake. I might still post especially noteworthy art here once in a while, but the main collection will be on Artstation.
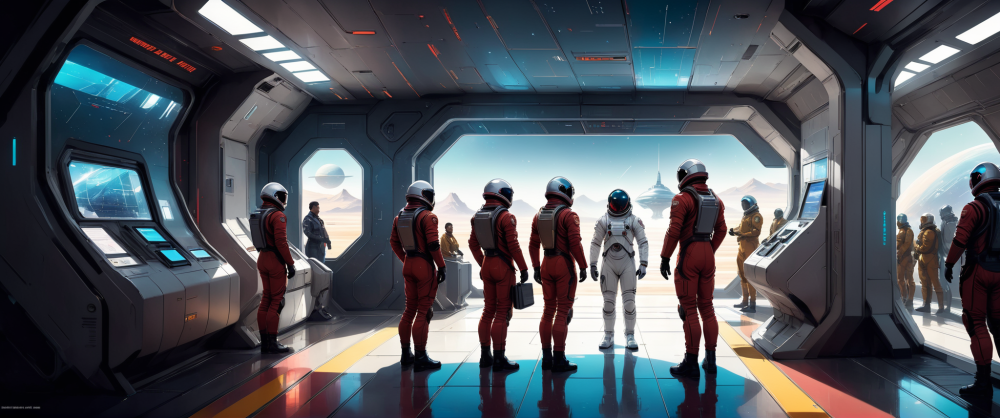
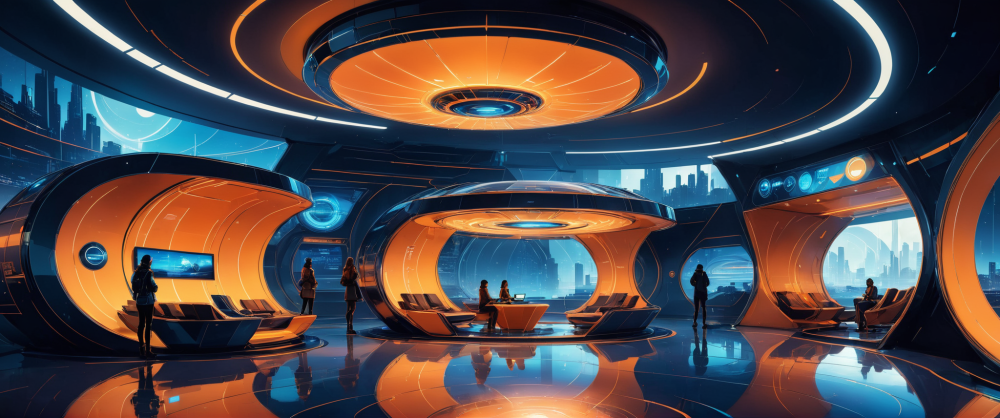
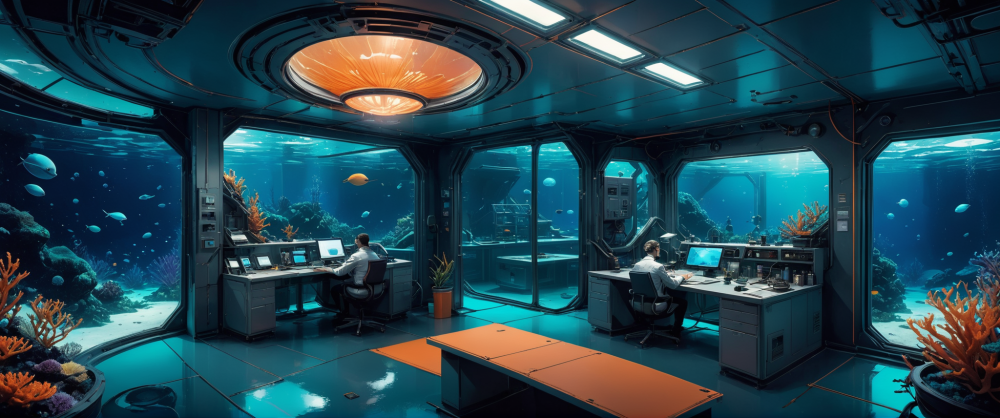
00001-3439886066.png

00034-2135049418.png

00075-2135049459.png

00109-2135049493.png

00110-2135049494.png

00135-2480588524.png

1693650632207.png

00158-2480588547.png

01502-1366252414.png

01513-1366252425.png
 
Last edited:
You have such and eye. I don't know how to describe it. Your images actually cause an emotional response in me. I could easily see you working as a Production Designer for one of Hollywood's $200,000,000.00 fantasy/space epics.

Question. I know you use a lot of stock models. Are they royalty free? ... And I don't want to imply that your work is a compilation of stock models. No, far from it. Anyone can take a bunch of models and jam them in a scene. What I feel you have is an eye for composition and color. THAT is what sets you apart from so many others. :cheers:
Many models are free. I'm using UE5 for the baseplate, and with the new pipeline, there is little need for much real quality in terms of models. I use them to express what items go where, camera angles, facial expressions, but all the pixels get overwritten by the AI layers.

There are a lot of free 3d model resource hubs that offer tens of thousands of standard items, like a window or sink, and you can just import them into most 3d programs. As far as I know, basically everything, free or paid, is royalty free now, since there are enough options available that no one would pick a royalty option.

In addition, Epic, producers of Unreal Engine, have bought a photoscanning company and made all their work available to the community for free, and those libraries contain huge sets of high quality models such as rocks, cliffs, buildings, etc.

At this point though, basically any model of a wall or rock is interchangeable for my uses, since I can just show the AI layer a frame of some boxes, and code it to make that geometry into "mossy stone wall" or "red brick wall".

Here's an average source frame from UE

1699655362350.png


Then the pipeline is designed to refabricate it according to "genetics" that I create to apply various visual styles. In example, the short film "River" that I posted is just made from one genetic, a few variations, and a few baseplates. Basically, I designed 12 core components, and got over 500 unique motion shots from that.

All of these are actually the same image above, refabricated by the stage 2 AI. So in this way, I can direct cinematography from 3d programs, or even just camera footage, and create whatever scene is needed.

Note - none of these are masterpieces, I just made them up in 5 minutes to clearly illustrate how the refabrication process works, with some clear and simple base geometry that would be easily recognizable from frame to frame.

00630-678765853.png

00633-1944635937.png

00635-4151010637.png

00659-1175932229.png

00653-3500103064.png

00675-2223829722.png
 
Last edited:
Although I just joined recently, I've been following your work here for a while and am really impressed with your ability to create such wonderful images through your continuing mastery of the tools you use. They're immersive and yet also have an emotional appeal. Your overall concept for these images is quite amazing, but I have to say it boggles the mind as to how much work it is (and will be)!!!! Looking forward to continuing to follow where this is going.
 
Thanks! That's very kind of you. As far as the work..... it's astronomical, but then I'm not planning to do it all myself, lol, just building the tech, story, and, org foundations to enable a lot of creatives to make something bigger than any one of us could possibly achieve.

Right now I've been taking a semi vacation, resting up for the next big push, but there should be big things ahead since I'm very close to cracking the whole puzzle. I know that a lot of people following this have given up hope because it's taking so long, but it could take off really fast once that final piece of the puzzle is working. (automated animation at the midstage quality without tons of visual glitches)

For clarity, what you see in the still images I post is the first and second stages working well enough to use, and in the "River" test, I'm using a broken stand in for the third and final stage, the animation stage, that I don't feel is good enough. Once it's ready, it should be the quality of these images above, but with 3d cinematic camera moves and accurately motion captured characters.

It's taking a lot more effort than I initially expected to get there. You seem somewhat technically inclined, so I'll take a stab at explaining where I'm at right now.

Inside each second are 24 frames. For any shot I have to give it maybe a second or two of preroll. The stage 3 engine takes a frame from stage 1, and sends it back to stage 2 to be defined (like I showed above, with the changing walls) it skips ahead a defined number of frames, and tries to make another one matching the genetic interpretation as closely as possible (which is a problem as you orbit the camera and show it sides it couldn't see before). So what I'm doing now is giving it a range on top of that, like 7. Then it goes through and paints the 7 interval frames, and then here's the crazy part.

I'm having to automate the process of retraining a brand new AI brain........ for every frame. So it's born, learns everything it will ever know about how a frame should look, based on the previous or surrounding 7 frames, and tries to paint the one frame it was born to paint, and then dies. A tiny custom AI brain created solely for the purpose of painting a single frame, and this has to happen around 5-8 times a second.

If I fully succeed, it unlocks infinite filmmaking at almost no cost, stuff like creating a remake of a classic film overnight with no budget. One day, probably with the introduction of quantum computing, you could have real time refabrication, like ask if for an animated remake of Gilligan's Island with Family Guy characters, and it would make that in real time as you watched it.
Wow! I followed a fair bit of that, enough to get an inkling of what you're actually doing, which is pretty amazing. Can't wait to see what's next!
 
Cool!
Note - none of these are masterpieces, I just made them up in 5 minutes to clearly illustrate how the refabrication process works, with some clear and simple base geometry that would be easily recognizable from frame to frame.

00630-678765853.png

00633-1944635937.png

00635-4151010637.png

00659-1175932229.png

00653-3500103064.png

00675-2223829722.png
Not sure why I'm posting this but it might help.

1. This green one looks fake.
2. This one too, basically because the colors are not warm enough (*see below).
3. This red one looks super realistic, and it has a LOT to do with the ceiling reflections.
4. This one also has some realistic light/reflections going on.
5. *Warm colors yay! This one looks better than #2. (Not only referencing the primary colors but also the greys, etc.)
6. Nah. Video game looking.
 
Cool!

Not sure why I'm posting this but it might help.

1. This green one looks fake.
2. This one too, basically because the colors are not warm enough (*see below).
3. This red one looks super realistic, and it has a LOT to do with the ceiling reflections.
4. This one also has some realistic light/reflections going on.
5. *Warm colors yay! This one looks better than #2. (Not only referencing the primary colors but also the greys, etc.)
6. Nah. Video game looking.
Yeah, you're right. These are "uncurated frames" and none of them would be likely to appear in a finished product. This was just a quick demo of how part of the tech works.

Basically in any given situation I have to solve for frame X, and then give that as a reference, so what I do for a "Real" reel, is work all day on one or two frames that really deliver what I want, and then use them as an ongoing reference for the AIs. These frames were just kind of raw output, what I get from the system with no work put in. It's capable of a lot more, as seen in many of the other pictures, but getting those results takes a lot more time and effort than these did.
 
What hardware are you running this on?
Are you doing video?
Do you have any experience with generative fill and original footage?
I'm looking for guidance on how to enhance narration scenes with generative AI.
2 I9s with 64 gb ram each, 40 tb hdd space, 1 3090 and 1 2080ti.

Yes, video is the whole thing, it's an interactive fiction film, which requires so many scenes filmed that it can only be done with heavy next gen automation, in addition to normal writing, directing, sound, and art direction tasks.

"Generative fill" is just Adobe trying to steal credit for an open source technology called "inpainting" which you can build and customize yourself from research papers and github code. It is convenient to use theirs for some things, since it's built into an editor, but to answer your question, yes, I can do what the adobe software does and much more. Off the shelf solutions are universally far weaker than the real thing, at least so far.

You can create whatever compositing plates you need with AI, and even animate full scenes. It's all dependent on what your goals are stylistically, and how much work or expense you want to put in.

In your case, where you are interviewing subjects, it should be fairly trivial, and you don't need much tech. Just use a default image generator such as Dall E 3, or Midjourney, or if you want to have more control and better photorealism, I can show you how to set up the real thing. Mostly for your use case, it doesn't even have to be good, just create a scene that looks good, matches your lighting, and displays the correct setting, then blur it a bit for use as bokeh in the shot, and isolate your subject in front of it and key. Then color correct your 2 footages to match and unify with a consolidating LUT. That's cheap and easy, and you'll get an ok result, as good or better than most documentaries. If you're new to compositing, here's a cheat code for beginners. Use black and white, and compositing pretty much works seamlessly with no effort.
 
2 I9s with 64 gb ram each, 40 tb hdd space, 1 3090 and 1 2080ti.
Windows? Linux?

I can show you how to set up the real thing.
Ya, any help at all would be very much appreciated.

Are there any particular forums you recommend for this topic?

I'm on a 2020 MacBook Air M1, hoping to upgrade to a MacBook Pro soon.

I'm proficient with Blender and I'm a software engineer, so tech is not my hurdle, time is. I'm trying to find a way to illustrate whatever I need and reduce total effort since I'm a one-person team.

I've tested out Blender with the Dream Textures addon and the results have been mostly poor, with maybe 1 or 2 that showed promise.
 
Windows? Linux?


Ya, any help at all would be very much appreciated.

Are there any particular forums you recommend for this topic?

I'm on a 2020 MacBook Air M1, hoping to upgrade to a MacBook Pro soon.

I'm proficient with Blender and I'm a software engineer, so tech is not my hurdle, time is. I'm trying to find a way to illustrate whatever I need and reduce total effort since I'm a one-person team.

I've tested out Blender with the Dream Textures addon and the results have been mostly poor, with maybe 1 or 2 that showed promise.
This topic goes shockingly deep, like 3d animation itself, so it's hard to recommend a particular forum. Plus I'm on pc rather than mac, so my knowledge is limited. (I do have an Ipad pro with I think an M1, but I use it for source drawings with the pen, rather than render tasks)

If you were able to work with blender, like you said, you shouldn't have many problems. What you need for a documentary is far more basic than an average blender scene. Depending on what you call average. As long as you know blender, while I'm on the topic, you might want to create some simplistic animations showing top down motion illustrations of what your describing. People generally like these, in limited quantities, and they can help get across a more complex point. Cosmos would have been a worse show if they just kept pointing the camera at the sky and talking about the relative scale of the universe.

The easiest thing to do would probably be to -

1 Fabricate some backgrounds fitting your needs in Dall E 3, midjourney, and then upscale and stitch them in your photo editing software. Then you have set X. I looked it up and you can run Comfy UI on a mac m1. If you can build a skeletal SDXL install in a node based host, you're good to go. Use cooling fans, it will max your system indefinitely if you tell it to.

2 Place that set in the bokeh, and motion track to camera, or much easier, just use a tripod shot.

You can get crazy with this stuff, and do great things, but in a doc format, I would avoid scope creep and just do the above. At worst you have to learn 2-3 new skills, each fairly minor, and then do a motion track on some shots. If you want motion backgrounds, like walking up to a rocket launch, you can just composite in your motion shot into the correct X/Y of the backlot frame, and artificially focus pull to your "Event" by manipulating the 2d blur of each track in inverse unison.
Wow, thanks. This is super helpful. I had no idea node-based control was available now with SD.

Are there any lighting / color matching hacks to simplify the matching of my real lighting to my virtual environment? A lot of the greenscreen video work I see on YouTube looks horrendous. I have LED lights and I know what environment mapping is, so I'm wondering if there's a way to automate the conversion of a digital environment map to the exact LED placement and settings I will need.
well, yeah, there are various methods. With generative graphics, you could likely just spell out the right color temperature of lighting to the AI. Haven't tested this, but I understand the core tech and it's conceivable that it might work if implemented correctly. In a more practical and universal sense, in terms of general compositing, I can tell you the following.

1. Saturation is the source of almost all dissonance between compositing layers. You want saturation, but in times of need you're getting closer and closer to a global match as you drop the saturation on your base layers. In example, if everything is in black and white, you get a perfect match from a good key. Limiting color components in both scenes can achieve this without resorting to greyscale. In example, if you created an AI backdrop in grey, white, red, and orange, matched base saturation, and then put a person in a white shirt in front of it, you could get full saturation and perfect match. It's all about not having dissonant hues, so the more tightly controlled your color space is, the easier it is to get a match.

2. Matching lighting should be fairly easy. Give the AI some basic lighting directions, run off images until you get one that works for you, and try to standardize your lighting setup in the interviews to make it easy on yourself later. I'd do the AI layers first, and then you'll have a reference for setting up the interview lighting, if you want a more perfect match. You can manually adjust the physical lights, but doing so with the AI lights requires several extra stages.

3. Consolidating layers. Our goal here is to cause the two layers to exist in the same color space. Let's say we dialed back saturation in both layers to 50%. Then added a lut, which would have the effect of helping to merge the two inputs into a shared color space. Then boosted the output of the result of that lut transformation back to 100% saturation. This process can be done in subtle ways across as many layers as you need (fewer is better) and can help significantly in providing a more seamless look.

4. Comfy UI is good, especially with the SDXL implementation, but does have some issues with third party plugins, addons, etc. You'll get a solid system that works well but a lot of the functionality of slower but more robust systems such as A11111. I'd just use it anyway, it's faster, and art design isn't your main focus here. Selection of a good core branch of SDXL can go a long way too, and I recommend "RealitiesEdgeXL" as an excellent starting point for neutral photorealistic backplates. Add in some task specific LORAS to fine tune your specific locations, or establish a unifying visual style.

For a look at flawless studio looks on a low budget, check out Mark Latia's interview series "soft white underbelly" where he simply uses contrast grading on black and while to get a perfect look out of subjects with no makeup, random clothing, using a cheap mobile backdrop.

note: I mentioned earlier to match the saturation of the base layers, I mean literally match them by eye. Don't use the numbers, in example setting both to 50 or 35, since the base saturation will likely be lower on your camera. Just match visually and then turn the saturation back up in an adjustment overlayer, until you start to see dissonance re-emerge, then just dial it a bit back from that.
 
Last edited:
Back
Top